本篇记录在RHEL6.4上安装Oracle数据库12c,第一次在Linux下安装Oracel,不一定成功。
环境
- 机器配置(16core&8G)
- RHEL6.4 (已做过一些优化limit.conf)
- Yum源
- 操作机 Mac
基本依赖安装
yum install -y binutils.x86_64 compat-libcap1.x86_64 gcc.x86_64 gcc-c++.x86_64 glibc.i686 glibc.x86_64 glibc-devel.i686 glibc-devel.x86_64 ksh compat-libstdc++-33 libaio.i686 libaio.x86_64 libaio-devel.i686 libaio-devel.x86_64 libgcc.i686 libgcc.x86_64 libstdc++.i686 libstdc++.x86_64 libstdc++-devel.i686 libstdc++-devel.x86_64 libXi.i686 libXi.x86_64 libXtst.i686 libXtst.x86_64 make.x86_64 sysstat.x86_64 smartmontools net-tools zip unzip
Oracle配置
创建用户和组
groupadd oinstall -g 504
groupadd dba -g 505
useradd -g oinstall -G dba oracle -u 504
给oracle用户配置密码
passwd oracle
修改/etc/sysctl.conf文件,增加以下内核参数配置
fs.aio-max-nr = 1048576
fs.file-max = 6815744
kernel.shmall = 2097152
kernel.shmmax = 1987162112
kernel.shmmni = 4096
kernel.sem = 250 32000 100 128
net.ipv4.ip_local_port_range = 9000 65500
net.core.rmem_default = 262144
net.core.rmem_max = 4194304
net.core.wmem_default = 262144
net.core.wmem_max = 1048586
执行sysctl -p查看是否生效
modprobe bridge
sysctl -p
[root@OP-APM-11 ~]# modprobe bridge
[root@OP-APM-11 ~]# sysctl -p
net.ipv4.ip_forward = 0
net.ipv4.conf.default.rp_filter = 1
net.ipv4.conf.default.accept_source_route = 0
kernel.sysrq = 1
kernel.core_uses_pid = 1
net.ipv4.tcp_syncookies = 1
net.bridge.bridge-nf-call-ip6tables = 0
net.bridge.bridge-nf-call-iptables = 0
net.bridge.bridge-nf-call-arptables = 0
kernel.msgmnb = 65536
kernel.msgmax = 65536
kernel.shmmax = 68719476736
kernel.shmall = 4294967296
error: "Invalid argument" setting key "net.ipv4.conf.all.accept_redirects"
fs.aio-max-nr = 1048576
fs.file-max = 6815744
kernel.shmall = 2097152
kernel.shmmax = 1987162112
kernel.shmmni = 4096
kernel.sem = 250 32000 100 128
net.ipv4.ip_local_port_range = 9000 65500
net.core.rmem_default = 262144
net.core.rmem_max = 4194304
net.core.wmem_default = 262144
net.core.wmem_max = 1048586
创建目录,并修改权限
mkdir /stage/
chown -R oracle:oinstall /stage/
为Oracle安装文件和Oracle数据库文件创建新目录,并赋权
mkdir -p /u01 /u02
chown -R oracle:oinstall /u01 /u02
chmod -R 775 /u01 /u02
chmod g+s /u01 /u02
下载并解压
下载链接在Oracle,本篇下载的是linuxx64_12201_database.zip。
解压到/stage
unzip linuxx64_12201_database.zip -d /stage/
安装Oracle12c
因操作机是Mac,那么我们在安装oracle的时候是需要GUI的界面,oracle的安装是使用X11来显示的,那么Mac下支持X11的软件是XQuartz,可以去官网下载,也可以通过brew来安装。
由于我比较喜欢brew,那么我们就用brew来安装
brew install caskroom/cask/xquartz
==> brew cask install caskroom/cask/xquartz
==> Satisfying dependencies
==> Downloading https://dl.bintray.com/xquartz/downloads/XQuartz-2.7.11.dmg
######################################################################## 100.0%
==> Verifying checksum for Cask xquartz
==> Installing Cask xquartz
==> Running installer for xquartz; your password may be necessary.
==> Package installers may write to any location; options such as --appdir are ignored.
Password:
==> installer: Package name is XQuartz 2.7.11
==> installer: Installing at base path /
==> installer: The install was successful.
🍺  xquartz was successfully installed!
那么此时,在Mac上就已经安装了一个XQuartz的应用。打开XQuartz,先做一点简单的配置:

重启XQuartz,然后使用oracle用户去连接测试机器:
ssh -X oracle@OP-APM-11
输入密码连接完成后,在/stage/database路径下执行如下命令:
./runInstaller

此时便会弹出GUI界面来进行安装Oracle。
Step-01
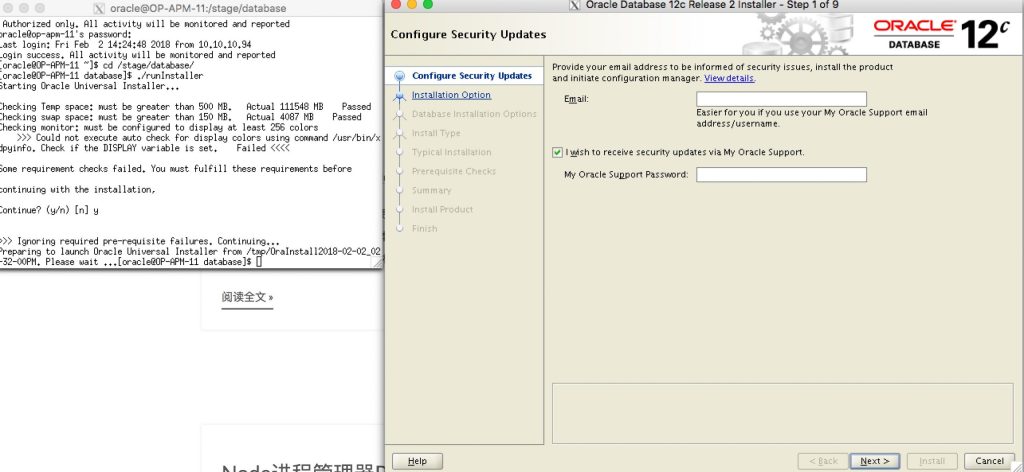
点击Next
Step-02

选择Create and configure a database
Step-03
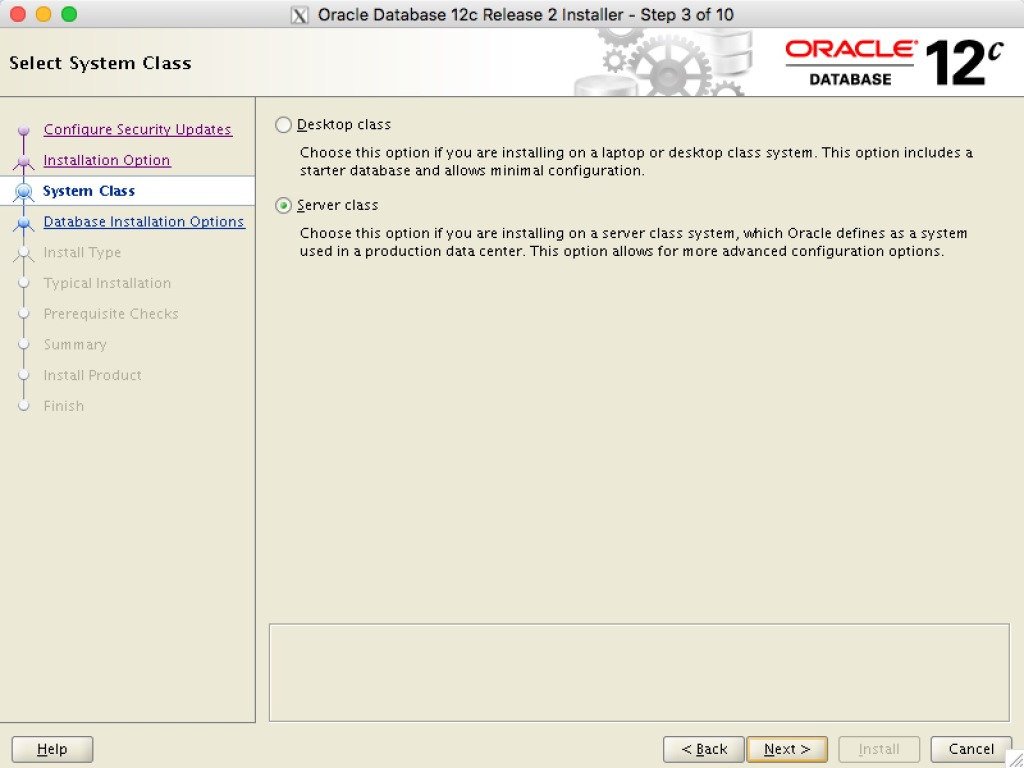
选择Server class
Step-04
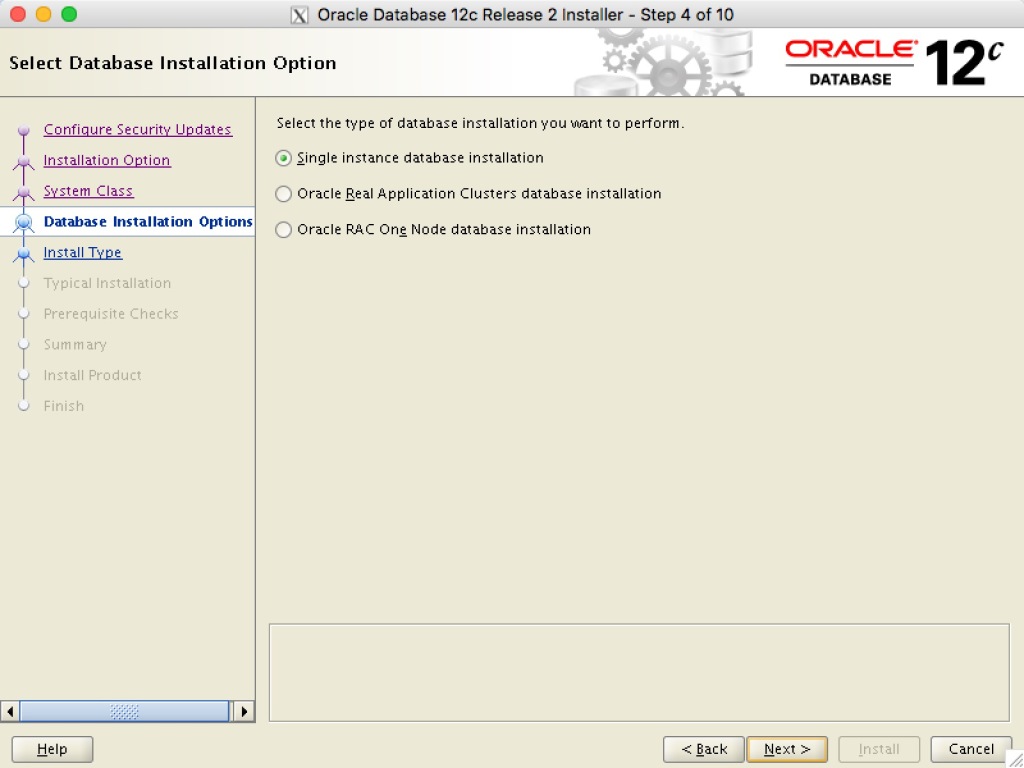
选择Single instance database installation
Step-05
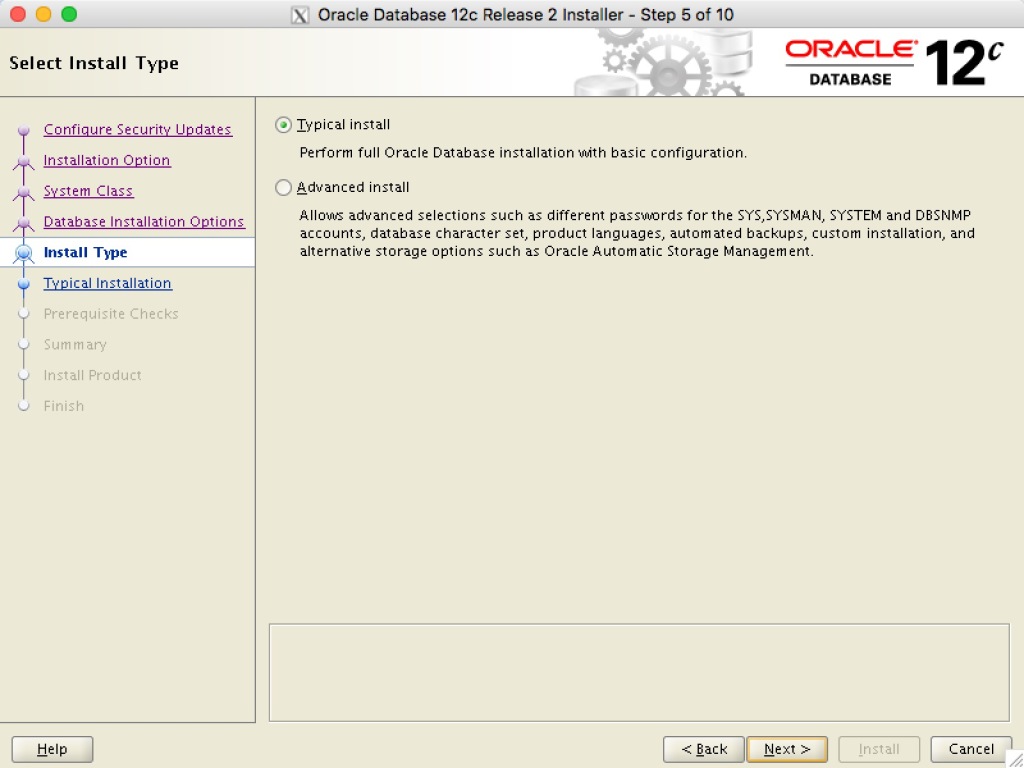
选择Typical Install
Step-06
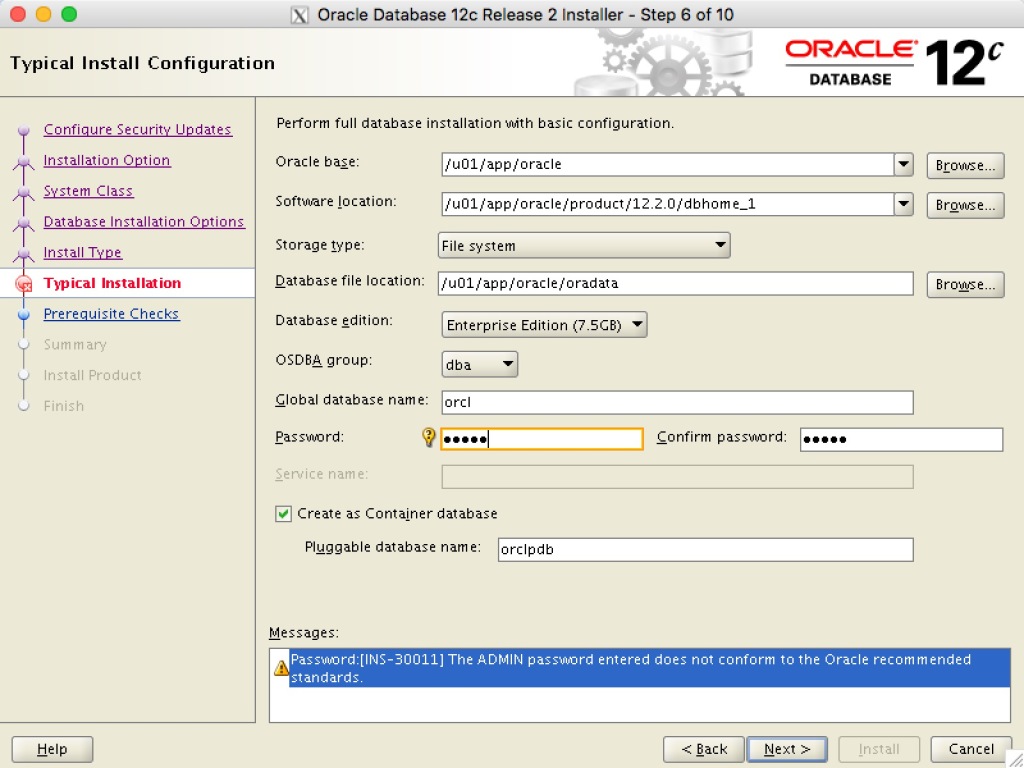
此时便可看到,我们之前创建目录的必要性,懒得再去一个一个填写了,按照如图配置,密码我设置为tiger,别问为什么是tiger,scott会嫌弃你。
点击Next
Step-07
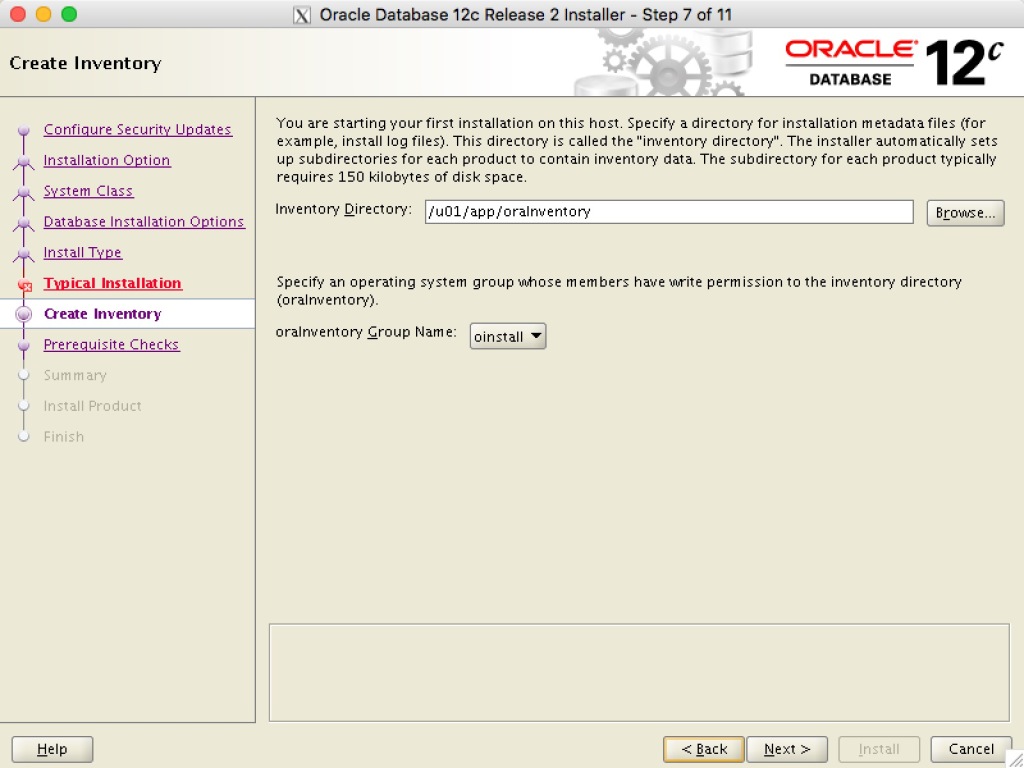
此处的路径默认即可,如果您没有按照本文进行创建目录,那么自己修改~
下面的下拉列表我们选择oinstall,点击Next
Step-08
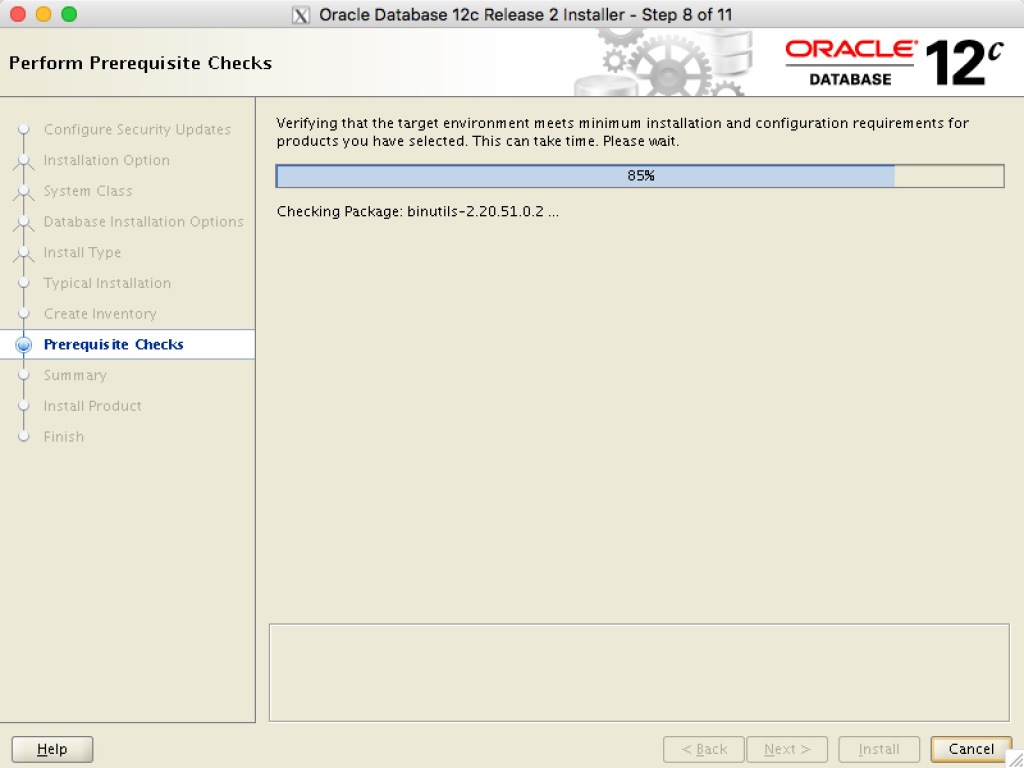
这里开始检查环境是否合格,由于机器内存是8G,swap交换去是4G(官方推荐swap=机器内存),于是我就全部忽略啦,反正不是生产环境。
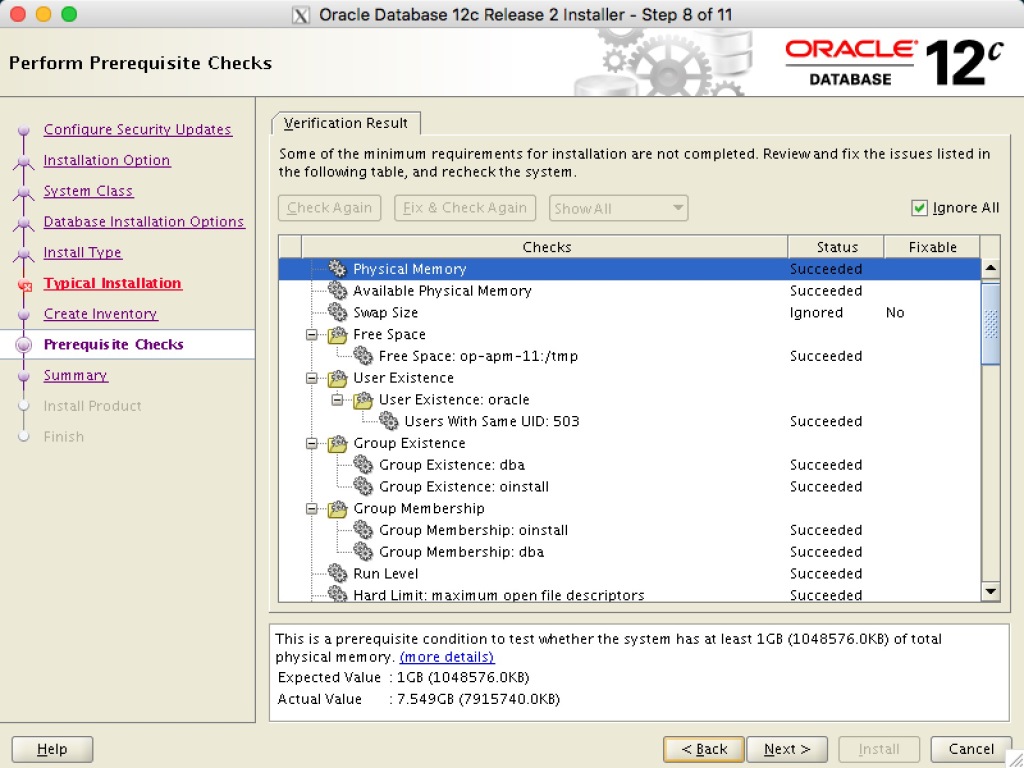
Step-09
忘记截图了,擦~ 反正就是修改一下参数,我没改,默认的。
Step-10
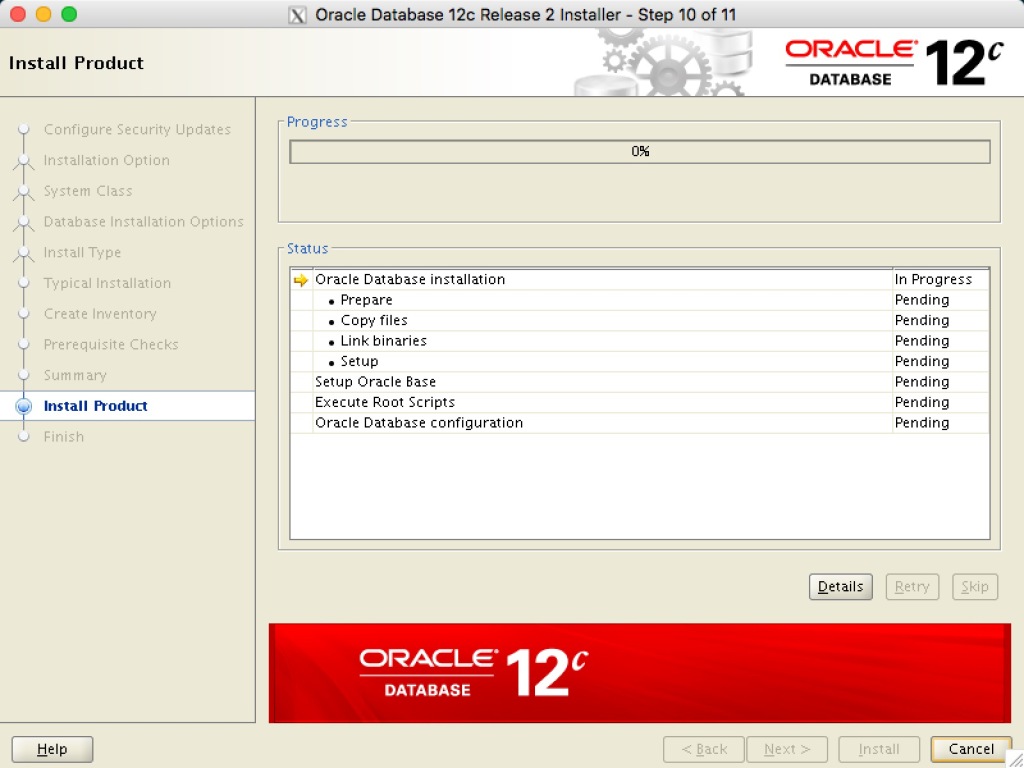
开始安装,没法回退。
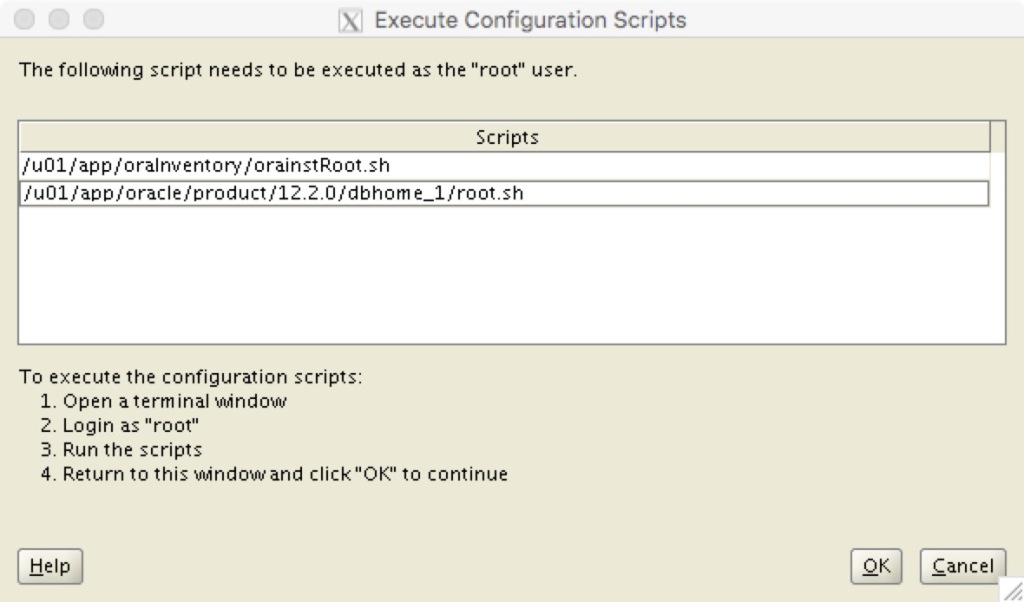
弹出这个界面是按照提示,使用root用户登录测试机,然后执行上面这两个sh脚本
[root@OP-APM-11 database]# sh /u01/app/oraInventory/orainstRoot.sh
Changing permissions of /u01/app/oraInventory.
Adding read,write permissions for group.
Removing read,write,execute permissions for world.

Changing groupname of /u01/app/oraInventory to oinstall.
The execution of the script is complete.
[root@OP-APM-11 database]# sh /u01/app/oracle/product/12.2.0/dbhome_1/root.sh
Performing root user operation.

The following environment variables are set as:
    ORACLE_OWNER= oracle
    ORACLE_HOME=  /u01/app/oracle/product/12.2.0/dbhome_1

Enter the full pathname of the local bin directory: [/usr/local/bin]:
   Copying dbhome to /usr/local/bin ...
   Copying oraenv to /usr/local/bin ...
   Copying coraenv to /usr/local/bin ...

Creating /etc/oratab file...
Entries will be added to the /etc/oratab file as needed by
Database Configuration Assistant when a database is created
Finished running generic part of root script.
Now product-specific root actions will be performed.
Do you want to setup Oracle Trace File Analyzer (TFA) now ? yes|[no] :
yes
Installing Oracle Trace File Analyzer (TFA).
Log File: /u01/app/oracle/product/12.2.0/dbhome_1/install/root_OP-APM-11_2018-02-02_14-47-10-385399341.log

Finished installing Oracle Trace File Analyzer (TFA)
一路回车+yes。看到finished就开始点击界面中的OK。
注意上面中的两个环境变量
ORACLE_OWNER= oracle
ORACLE_HOME=  /u01/app/oracle/product/12.2.0/dbhome_1
Step-11
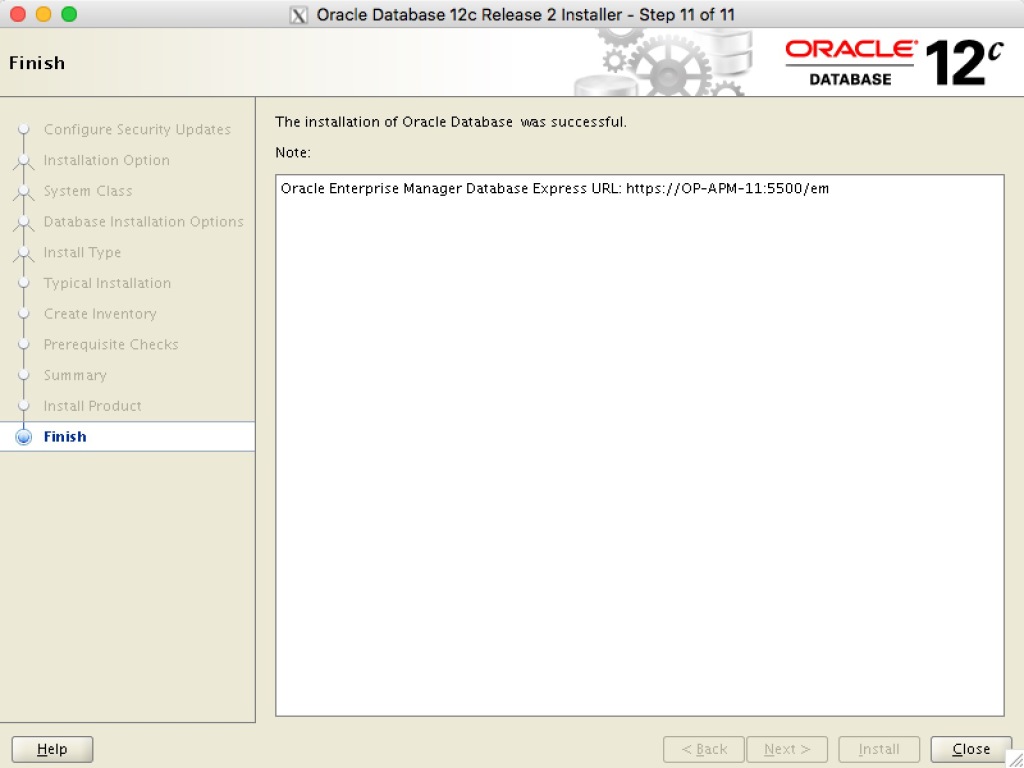
安装完成~ 撒花🎉🎉🎉
配置Oracle环境变量
用oralce账户登录测试机
vim ~/.bashrc
export ORACLE_SID=orcl
export ORACLE_HOME=/u01/app/oracle/product/12.2.0/dbhome_1/
export PATH=$PATH:$ORACLE_HOME/bin
source一下,使其生效
source ~/.bashrc
尝试登录
sqlplus system@orcl

SQL*Plus: Release 12.2.0.1.0 Production on Fri Feb 2 15:57:49 2018

Copyright (c) 1982, 2016, Oracle.  All rights reserved.

Enter password:
Last Successful login time: Fri Feb 02 2018 15:25:17 +08:00

Connected to:
Oracle Database 12c Enterprise Edition Release 12.2.0.1.0 - 64bit Production

SQL>
自动启动数据库
测试机也会被无意重启,那么此时就需要配置oracle重启后自动启动服务
修改/etc/oratab
用root用户登录测试机,编辑/etc/oratab文件
-orcl:/u01/app/oracle/product/12.2.0/dbhome_1:N
+orcl:/u01/app/oracle/product/12.2.0/dbhome_1:Y
创建自启动脚本
vim /etc/init.d/dbora
#! /bin/sh -x
#
# chkconfig: 2345 80 05
# description: Oracle auto start-stop script.
#
# Set ORACLE_HOME to be equivalent to the $ORACLE_HOME
# from which you wish to execute dbstart and dbshut;
#
# Set ORA_OWNER to the user id of the owner of the
# Oracle database in ORACLE_HOME.
ORA_HOME=/u01/app/oracle/product/12.2.0/dbhome_1
ORA_OWNER=oracle
case "$1" in
'start')
    # Start the Oracle databases:
    # The following command assumes that the oracle login
    # will not prompt the user for any values
    # Remove "&" if you don't want startup as a background process.
    su - $ORA_OWNER -c "$ORA_HOME/bin/dbstart $ORA_HOME" &
    touch /var/lock/subsys/dbora
    ;;
'stop')
    # Stop the Oracle databases:
    # The following command assumes that the oracle login
    # will not prompt the user for any values
    su - $ORA_OWNER -c "$ORA_HOME/bin/dbshut $ORA_HOME" &
    rm -f /var/lock/subsys/dbora
    ;;
esac
修改启动脚本的权限:
chgrp dba dbora
chmod 750 dbora
将启动脚本注册为自启动服务
chkconfig --add dbora
chkconfig dbora on
PDB Pluggable Database是12c中扛鼎的一个新特性, 但是对于CDB中的PDB,默认启动CDB时不会将所有的PDB带起来,这样我们就需要手动alter pluggable database ALL OPEN。解决方法就是使用SYS用户创建如下触发器:
sqlplus / as sysdba
CREATE TRIGGER open_all_pdbs
   AFTER STARTUP
   ON DATABASE
BEGIN
   EXECUTE IMMEDIATE 'alter pluggable database all open';
END open_all_pdbs;
/


